Regardless of which collar you sew the product with, detachable, turn-down or on the stand, it should be made perfectly.
It is not at all difficult to achieve an excellent result, if you strictly follow the sequence of certain actions.
Basic sewing terms
Step 1

Cut out the details of the collar along the contours of the paper pattern.
Note: in this case, seam allowances are already included in the paper pattern of the collar.
Step 2

From the doublerin for collars, cut the cushioning part using the pattern of the collar without taking into account seam allowances.
Step 3
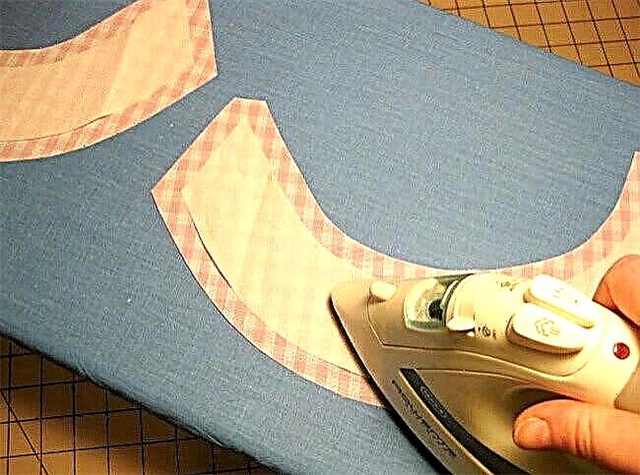
Place the gasket part on the wrong side of the bottom part of the collar and iron it.
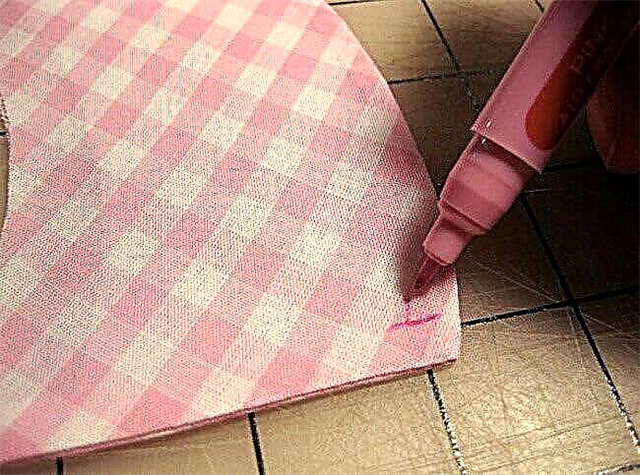
Step 4
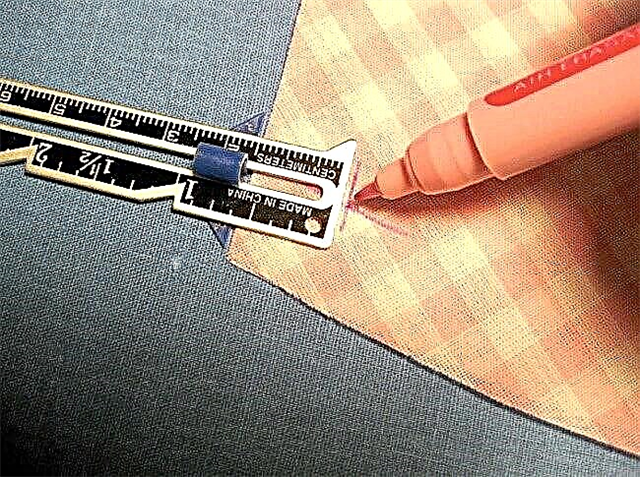
Using a water-soluble fabric marker, mark on the corners of the collar according to the seam allowances.
Step 5
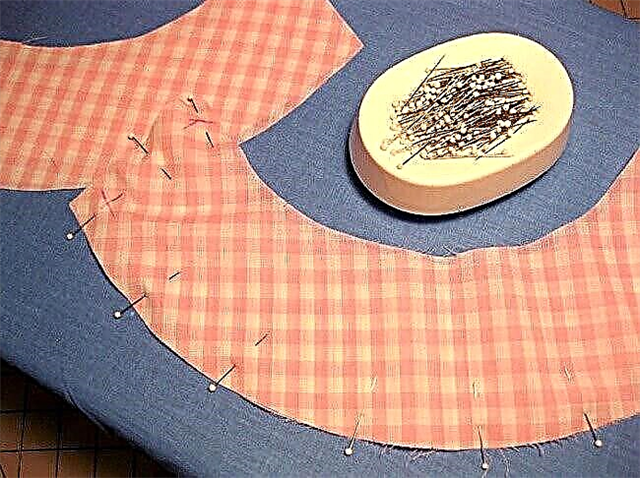
Fold the details of the upper and lower collars with their faces facing each other, chop and grind.
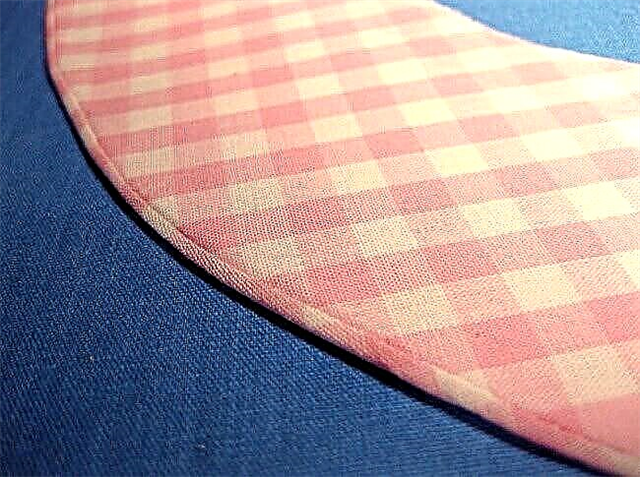
Note: for the collar to lie flat in the fillet area, cut out its lower part 2-3 mm narrower than the upper one. After eversion and the WTO, the collar on the wrong side will turn out with a seam with a transition edging.
How to carve seam allowances
Step 6
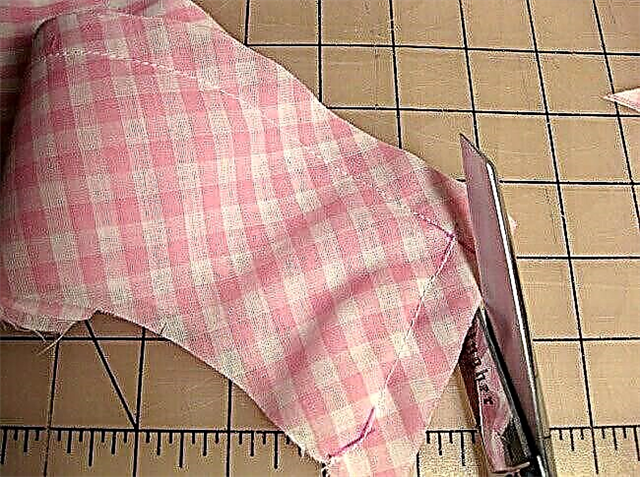
Cut the corners obliquely and trim the allowances.
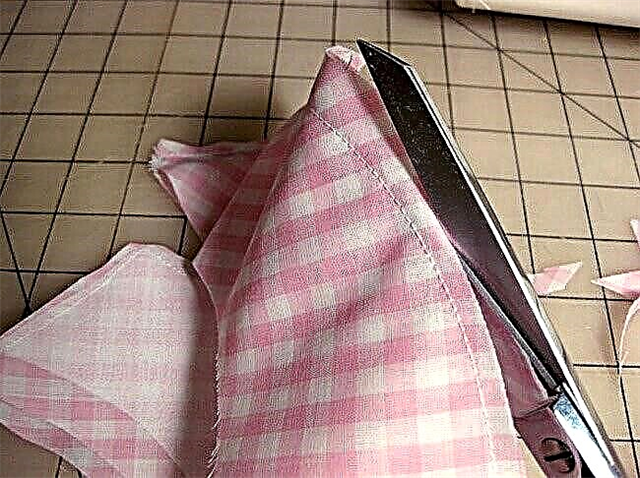
Step 7
Turn the collar to the front side and use the special peg to form its corners.
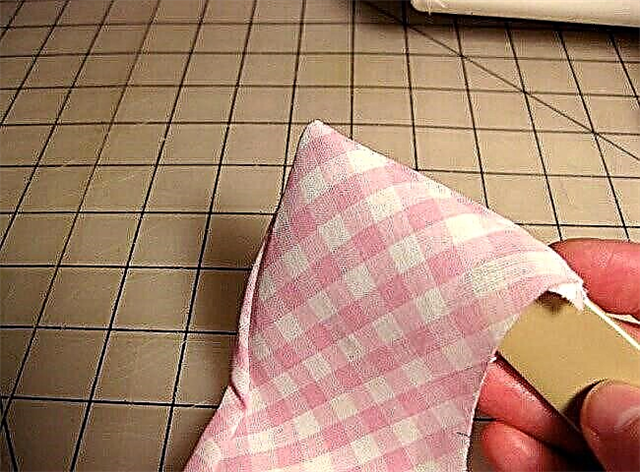
The secret of the sharp corner at the collars
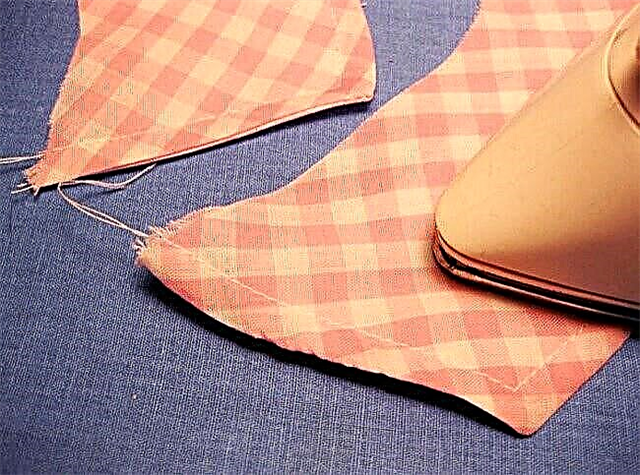
Step 8
Iron the collar.
How to make a seam with a transitional edging
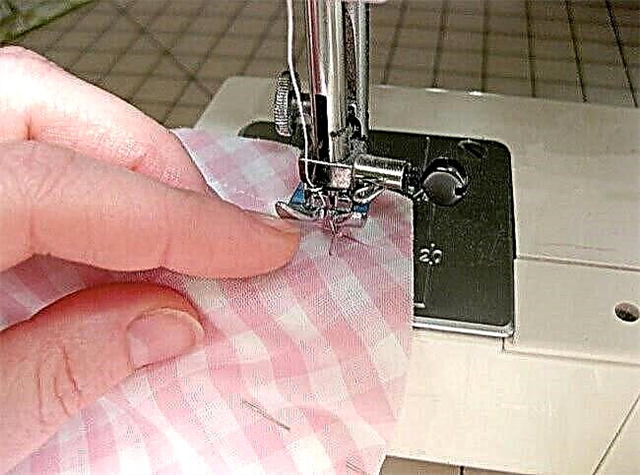
Step 9
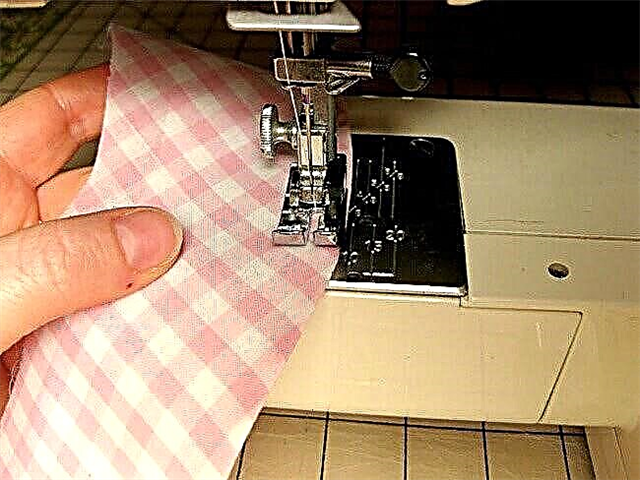

If you need to stitch the collar, mark with water-soluble fabric marekra at the corners of the collar. Stitch and iron the collar.
Photo: craftsy.com