Share
Pin
Tweet
Send
Share
Send
With the approach of the New Year, we are increasingly thinking about how to please our relatives and friends. Giving candles, magnets, figurines is already uninteresting. But to make a gift with your own hands is another matter!


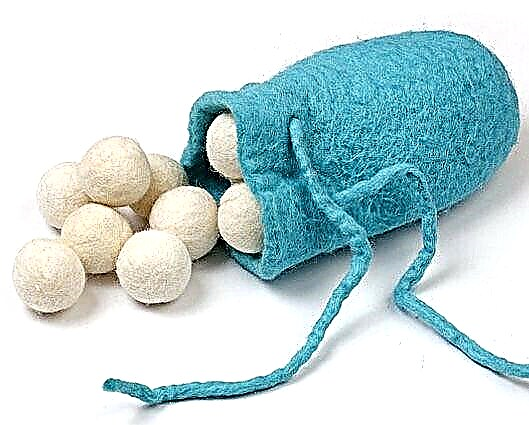


There are two types of felting from wool, or, as it is also called, felting: dry and wet. Dry felting is used to create voluminous things from spun wool, for example, toys, jewelry, all kinds of souvenirs.

We offer you a master class from Irina Pushkareva, a teacher at the BURDA Academy. Irina will tell and show how to make a green (or not green) Christmas tree - a symbol of the New Year in the technique of dry felting.
YOU WILL NEED:
■ Wool for felting green for Christmas trees and other colors for decorating it: the source material should be about three times larger than the planned size of the future product (can be purchased at needlework stores, as well as via the Internet);
■ Felting needles are thick and thin;
■ A substrate made of thick foam rubber or thick felt - it is needed so as not to accidentally prick your fingers with a needle and scratch the table;
■ Beads, beads, braid with sequins to decorate the Christmas tree;
■ Monofilament or ordinary thread;
■ Sewing needle;
■ Glue for felt.

STEP 1. Take a small ball of wool, taking into account the fact that its volume during felting will decrease by 3-5 times. Hands give this lump a shape close to a cone-shaped.

STEP 2. Put a ball of wool on the substrate, take the thickest needle and start sticking it into the ball of wool from different sides, giving it the shape of a cone. The more times you pierce the same place with a needle, the more dense the wool in this place becomes.
Felting needles are very sharp, so punctures need to be done carefully so as not to get hurt. Do not “hit” in a big way, so you can break the needle. And do not keep the workpiece on weight.
If the shape of the Christmas tree turns out to be uneven, cavities form, this is easily fixed. Add some wool to these places and roll it with exactly the same “poke”.

STEP 3. When the shape of the Christmas tree is sufficiently pronounced, finish the process of felting using thinner needles.
To speed up the process, you can simultaneously "poke" with two needles.
The density and size of the Christmas tree depends on your desire.

STEP 4. When the Christmas tree is ready, decorate it with all kinds of beads, ribbons, sequins, beads. This can be done with the help of felting - roll various decorations from other colors of wool. The main thing is your imagination.
Dry felting does not require large space.So this is a long process, it can be combined with watching your favorite movies and chatting with friends and family. Children will also like this type of needlework, the main thing is to tell us about safety rules and control the process, and better, roll toys together.
Enroll in courses Burda Academy can be by phone: 8 (495) 787-94-45. E-mail address: [email protected].
Details here.
Photo: A. Karpenko; PR
The material was prepared by Julia Dekanova and Elena Karpova.
Share
Pin
Tweet
Send
Share
Send