Even if you have never worked with genuine leather, you will succeed thanks to a detailed step-by-step master class!

This bag is made of thick genuine leather. Thanks to the accurate processing of the seams, it looks good even from the inside even without a lining.
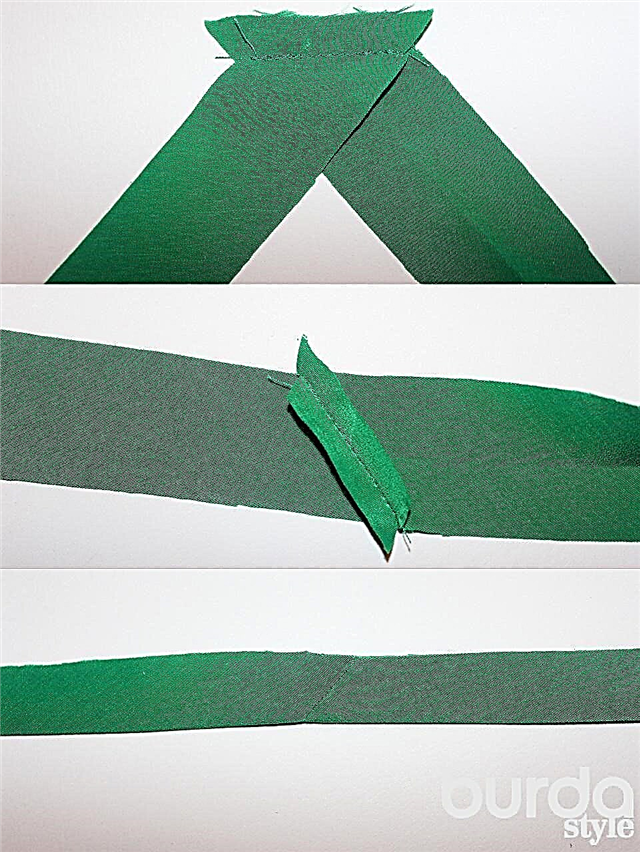
Leather bracelets - from simple to unusual: 11 ideas with master classes
You will need:
- skin;
- a manual needle for the skin;
- thick durable threads;
- ruler;
- breadboard or roller knife and rug;
- glue for the skin;
- a plastic hammer;
- a pen;
- scissors;
- cotton twill tape 1 cm wide;
- awl;
- clamps;
- wooden block;
- pins.
DIY lined backpack: workshop
Step 1

First, build a pattern. Build on the size of the bag you want to receive. First draw a bottom pattern. Then - a pattern of the side (you will need 2 such identical parts). You will also need 2 pens. If the bag is large, it is better to make the handles wider, for a small bag the handles may be narrower. Try on a convenient length of handles on your shoulder and add 10 cm to the length (5 + 5 cm for sewing handles). Mark the pattern for sewing on the handles on the side pattern.
Step 2

Spread the leather upside down on the mat. Circle the patterns on the skin (1 bottom part, 2 side parts, 2 handle parts), cut out the details using a knife and a ruler.
Step 3


Fasten the pattern and the side part with clamps and punch holes with an awl, marking the seams and places for sewing the handles.Repeat on the second side part.
Step 4


Mark the holes for the seams on the handle pattern. Attach the pattern to the handle part and punch holes with an awl along the entire length. By the way, for greater durability, the handles can be made double (then it will be necessary to carve 4 parts, not 2). In this case, it is worth fastening with a pattern 2 parts of the handle and punching with an awl holes in both parts at once, helping yourself with a hammer.
Step 5

Fold the side parts with the sides inward. Lay the tape on top and sew the parts on the sides.
Step 6


Lay the bag seam on a wooden block, as shown in the photo. Lubricate the stocks with glue, glue and tap with a hammer.
Step 7


Now sew the bottom of the bag. For strength, add tape.
Step 8


Cut the corners at the bottom. Just as you did with the side seams, grease the stocks with glue and glue to help with a hammer.
Step 9

Sew the pens, leaving the sewing areas un sewn.
Step 10


Attach the pens to the designated places. Also, for fidelity, the handles can be glued.
Step 11


Sew the pens, immediately grabbing the outer and inner parts (if you have not double, but single pens, sew them on the outside).
Step 12


If desired, you can strengthen the bottom. To do this, cut out the rectangle of the desired size from cardboard, and from the skin - the same, but 2 cm more in width and length. Glue the cardboard to the bottom inside the bag, glue the skin on top. It remains to wait until the glue dries - and you're done!
Photo and source: howdidyoumakethis.com